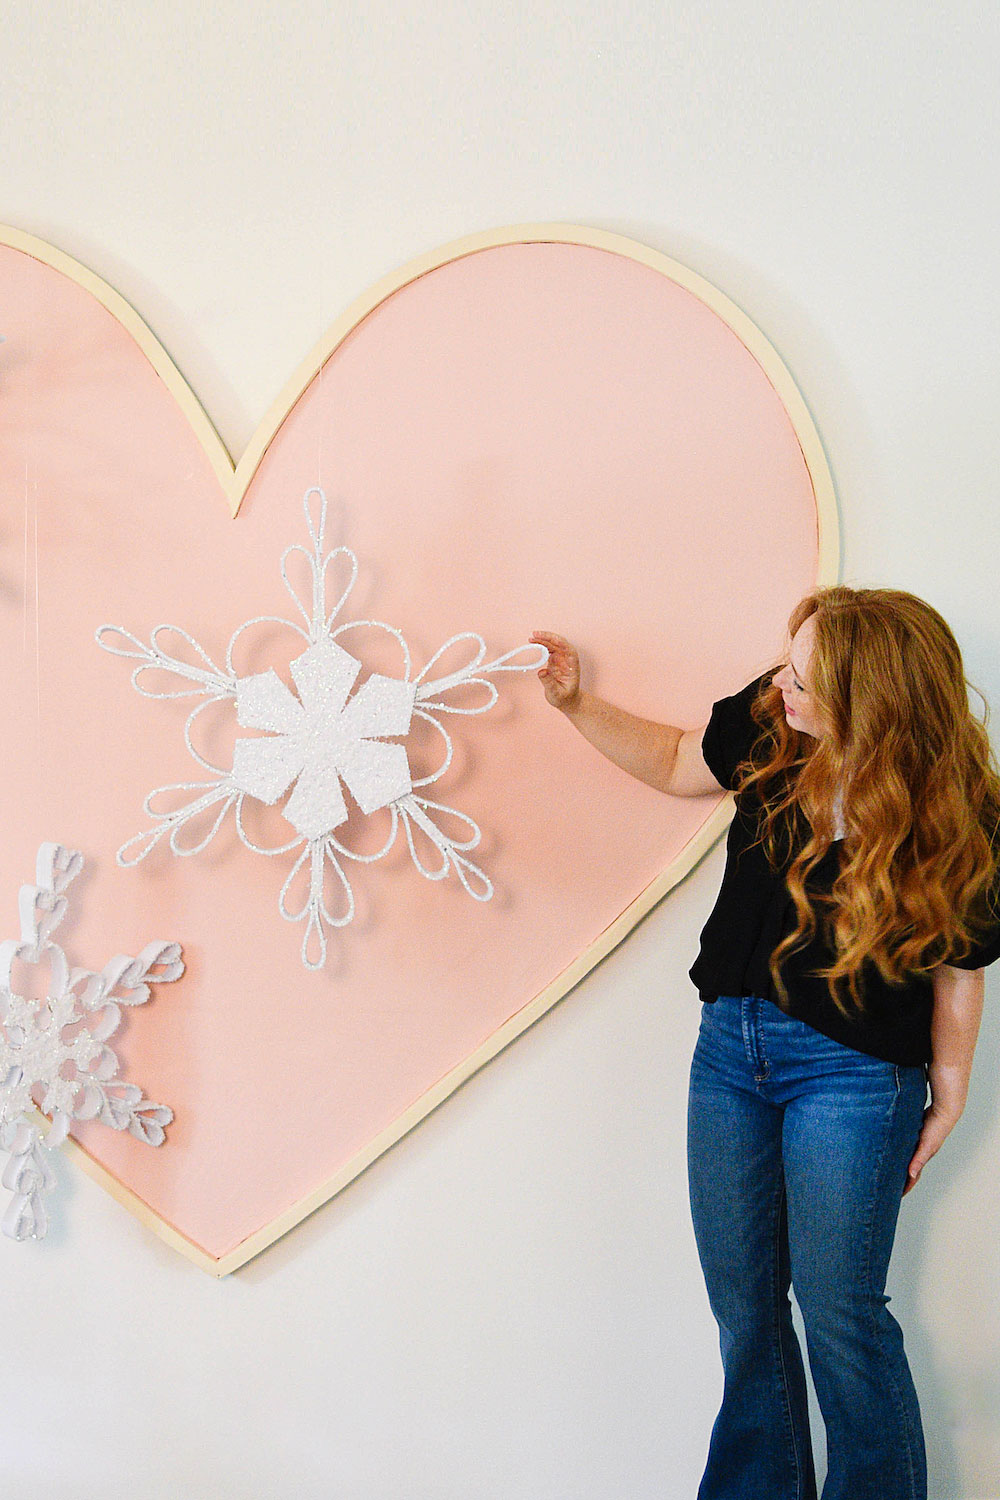
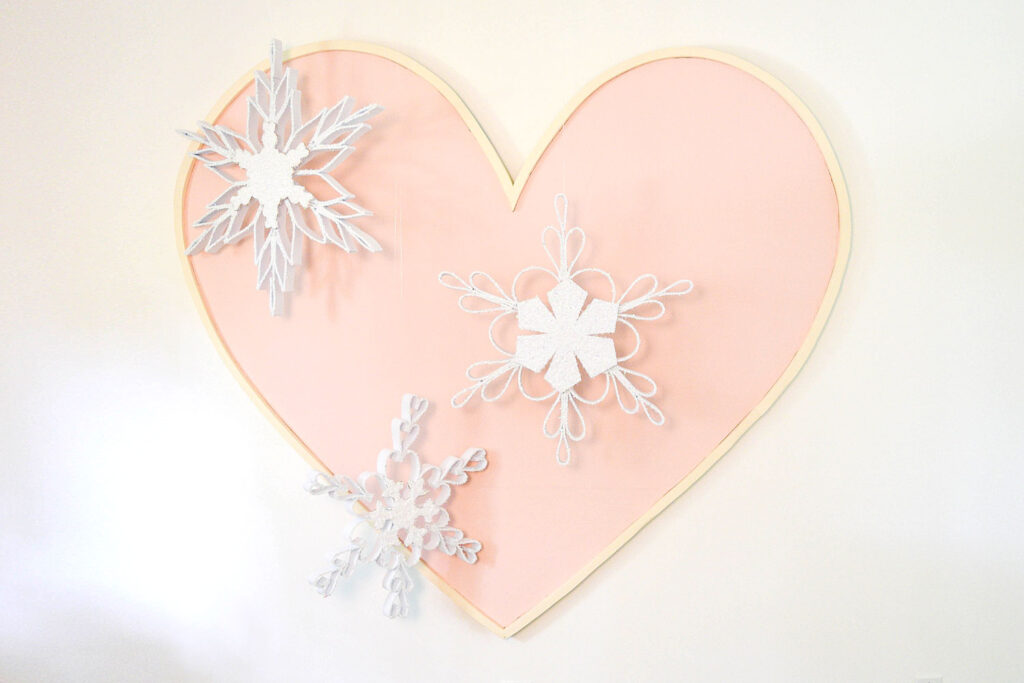
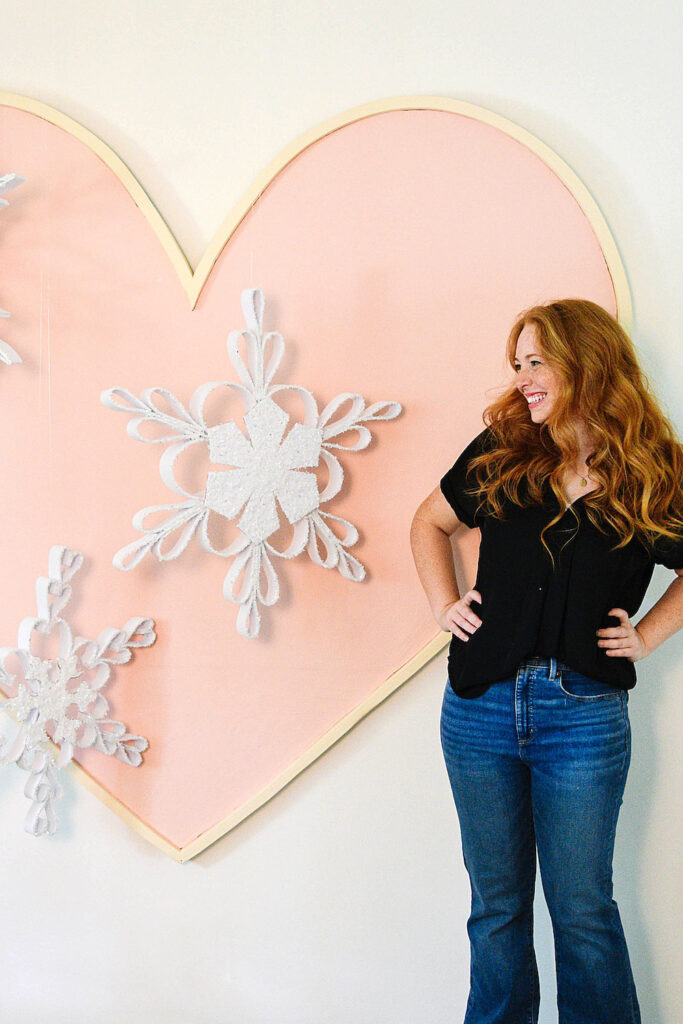
This giant heart is one of the best things I’ve ever added to my office! It’s so cheerful, and it makes for a great background in photos. I’ve been steadily using it as a kind of installation base to stretch myself beyond Christmas tree décor. This giant snowflake heart install might be my favorite design yet.
While I tend to almost immediately want to pull out my forest of Christmas trees whenever I get ready to decorate for Christmas, I’m always surprised by how enjoyable it is to forgo the tree and just add details. That’s what this little snowflake moment is for me: a wintry addition to my usual space that makes it more magical and sparkly.
My Love of Snowflakes
I think for Southerners (I’m Texas born and living in Nashville), snow is particularly magical. We get it so rarely that it feels miraculous. Plus, even if it’s only a light dusting it usually means getting a day off. Now, because we get so little of it, I’ve never seen a like a sizeable snowflake. So between the magnified photos and my own imagination, snowflakes in my brain are delicate and detailed.
When I decided to add some snowflakes around my heart (an oddly poetic sentence), I wanted them to be huge. I want giant snowflakes! They needed to be big enough to let me play with detail and layers. And, I wanted them to have some glitter.
For more Snowflake Christmas Decor ideas, check out my Anthro-Inspired Christmas Shelves and my Office Winter Styled Shelves.

DIY Giant Snowflake Heart Instructions
Here’s the instructions for making these giant heart snowflakes!
Supplies:
- ¼ inch thick craft foam in white
- Glitter or Faux Snow
- Scissors
- Hot Glue
- Elmer’s Glue
- Fishing Line (for hanging)
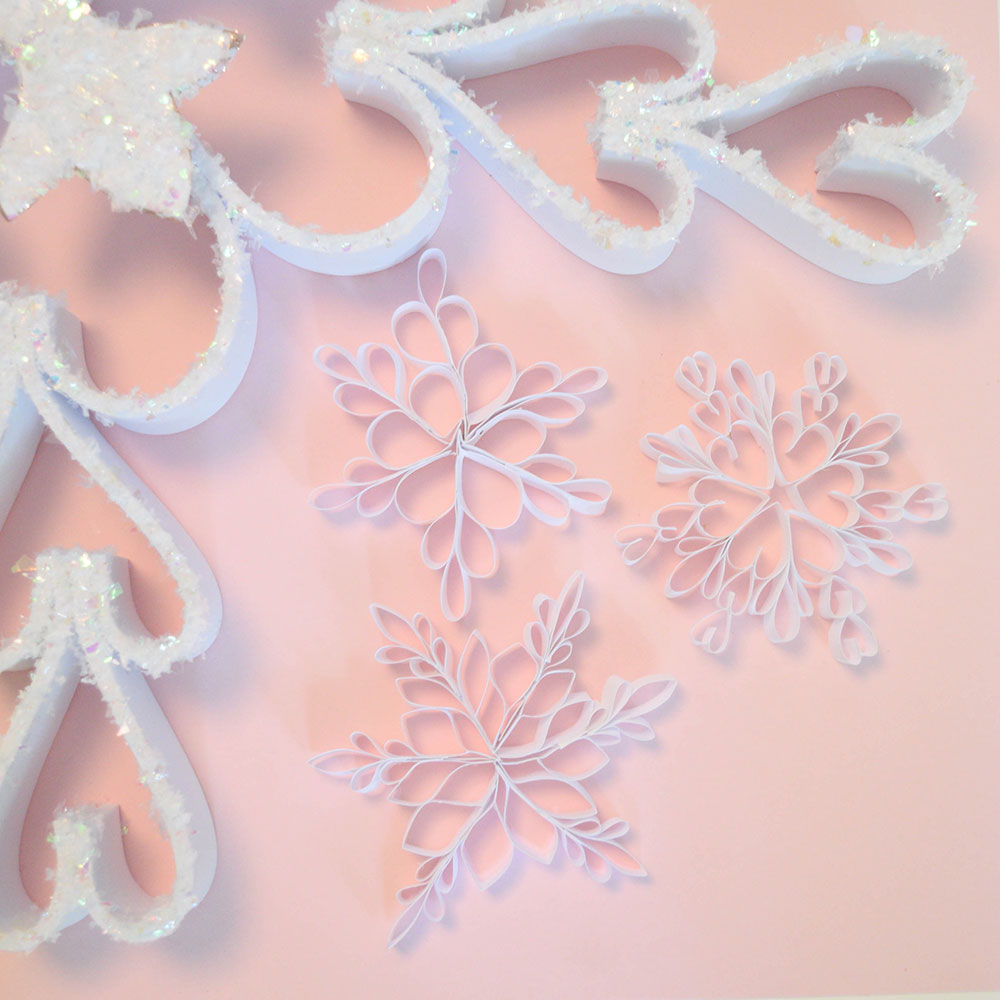
1. DESIGN YOUR SNOWFLAKES IN MINIATURE.
While it’s tempting to go immediately into making the large, final version of your snowflake, resist. Cut strips of copy paper and create your designs. Essentially everything you can do with the paper strips (without folding them) you’ll be able to recreate with craft foam strips.
This is going to save you time and supplies in the long run. When you have your minis designed, use them as a reference for sizing out your larger snowflakes. You can go so far as to measure and then scale up, but I just eye-balled it.
2. CUT THE CENTER PIECES FOR YOUR SNOWFLAKE.
I recommend working on these one snowflake at a time. Cut the first sculptural pieces (the pieces that you’ll bend) for your snowflake. My craft foam came in 12×18 inch sheets, so I cut 1.5 inch strips to work with. To make the structural part of my snowflake, I started with the center parts and then worked my way out, so I could make sure everything looked proportional.
3. GLUE THE CENTER PIECES TOGETHER.
Here’s where it gets messy. Make sure you’ve got a workspace that won’t be damaged by glue. If you’re stressed about that, I usually put down wax or parchment paper. Even if it glues to the back of your snowflake, you can rip most of it off.
Hot glue is great for craft foam. You’ll only need a little bit for it to stick, and it’ll dry really fast. Make sure you’re also working in a well-ventilated area and read the directions and warnings on the back of the glue you use.
4. CUT AND GLUE THE REST OF YOUR SCULPTURAL PIECES.
Now that your center structure is glued and holding, start working your way out. I worked clockwise around each of the six spokes of my snowflakes. While it’s tempting to finish an entire spoke and then move to the next, your proportions will be more accurate if you make all of the same size items together.
Once you’ve got the sculptural aspect of your snowflake together, move it to another area while you work on the next part.
5. CUT THE TOP LAYER.
Each of my snowflakes is made in two parts: the sculptural layer and the flat layer. The flat layer is made out of the same craft foam. This is the part we’re cutting next.
I used the sculptural part of each snowflake to help guide what my flat layer looks like. You’ll want this layer to fit (for the most part) within the main center portion of your sculptural snowflake. Take those measurements and then sketch out your snowflake. I did this freehand, but you can absolutely make a stencil or print one out!
When you have it drawn on the craft foam, carefully cut it out with scissors.
6. PAINT AND DECORATE.
My favorite part of the process! You’ve done the hard part, so now go wild. Or reserved. Whatever works for you! I decided to go with a mixture of faux snow and chunky iridescent glitter to add some texture to my snowflakes and hide the mechanics of how they’re made. Liquid gold foil paint would also look amazing!
Add beading of Elmer’s Glue along the sculptural edge of your snowflake and then spread it out with your finger. Then, cover it all in glitter or faux snow! I also wanted to cover the topper piece in faux snow because I loved the way it looked.
7. ATTACH AND HANG.
Everything must be completely dry for the attaching process. Check to make sure you know where your flat snowflake will fit on the sculptural snowflake. Then, put your chosen glue on the sculptural snowflake’s edges where you know the flat part will overlap. Press your flat snowflake down (decorated side facing out, obviously).
When that has completely dried (give it a day!) tie some fishing line around one of your sculptural loops and hang.
8. PHOTO AND SHARE (AND PLEASE TAG ME SO I CAN SEE IT!).
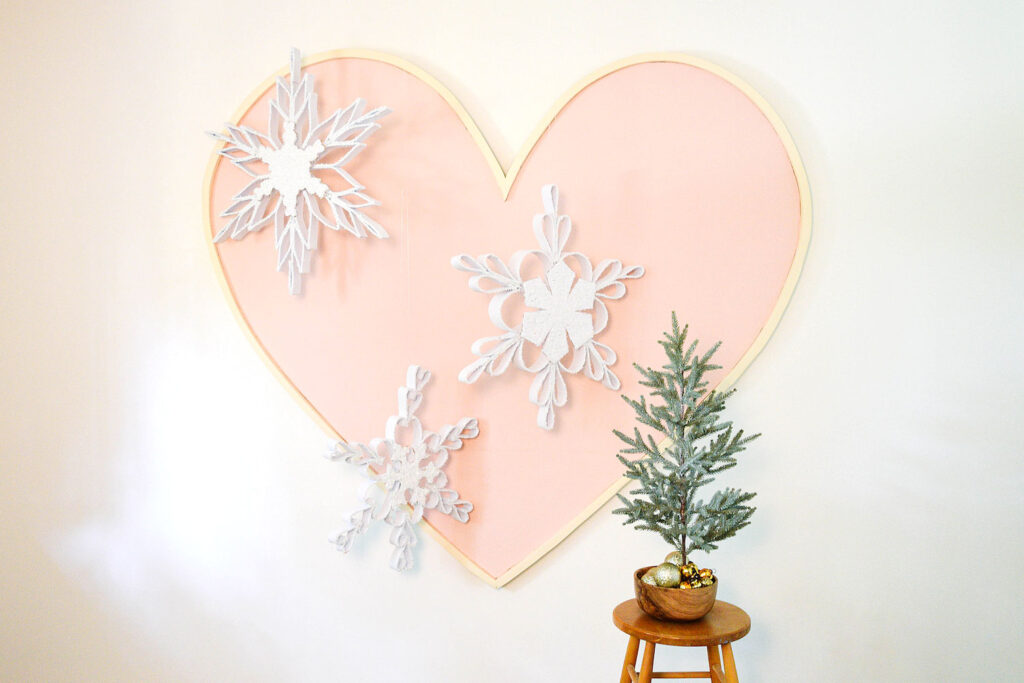
And now, to sit with a cup of cocoa and enjoy my giant snowflake heart!
Leave a Reply Cancel reply
Make merrie with this little freebie
Download this bow SVG cut file - on me! Perfect for ornaments, garlands, or gift tags.
| Website Design by EP Design
© Merrie Company 2024
