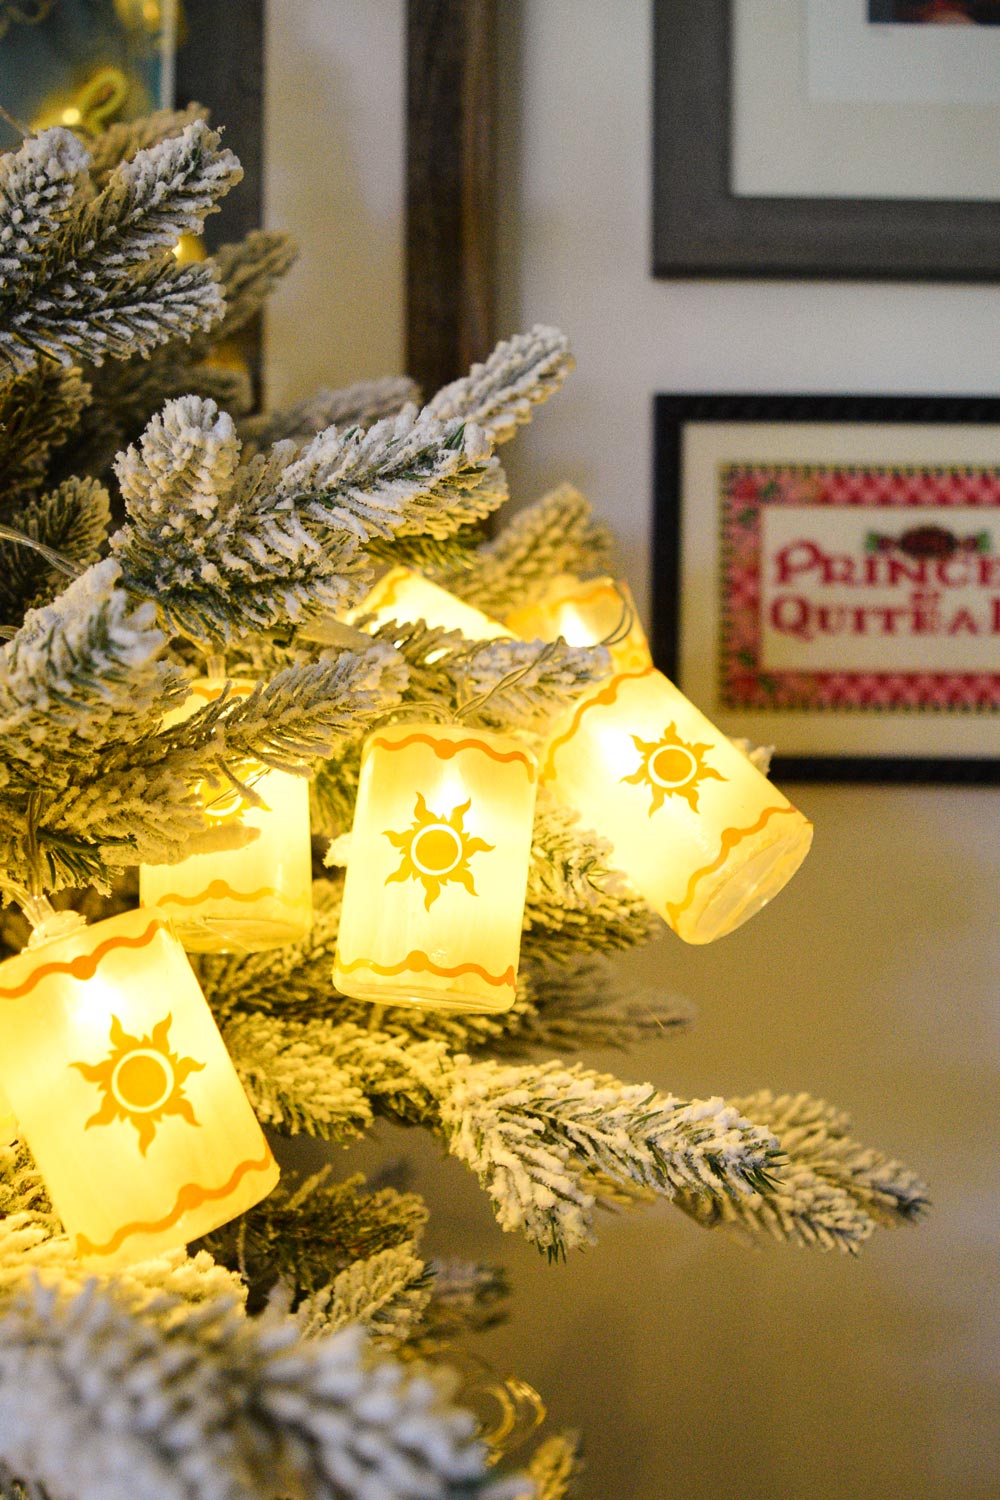
I have been thinking about making a Christmas tree inspired by the floating lantern scene in Tangled for so long. You know when you get an idea and it just stays with you? This one was it. I really wanted to make a Tangled Lantern Christmas tree with the lights floating around the tree, but I couldn’t figure out how to make it without spending a ton of money or it looking cheesy.
But I finally figured out exactly how to get what I wanted, and I’m completely obsessed with how it turned out. Usually I keep a tree up for a couple weeks at most before moving on to the next design, but this tree is too cheerful to take down. She’s going to keep me company in my office for a while!
Did I mention that this tree design only cost me $30 and took one day to make? That makes it even better. Christmas decor gets expensive (trust me, I know)! I don’t mind investing in high end ornaments, but decor companies rarely make everything I want. And crafting this tree turned out to be exactly the right choice!
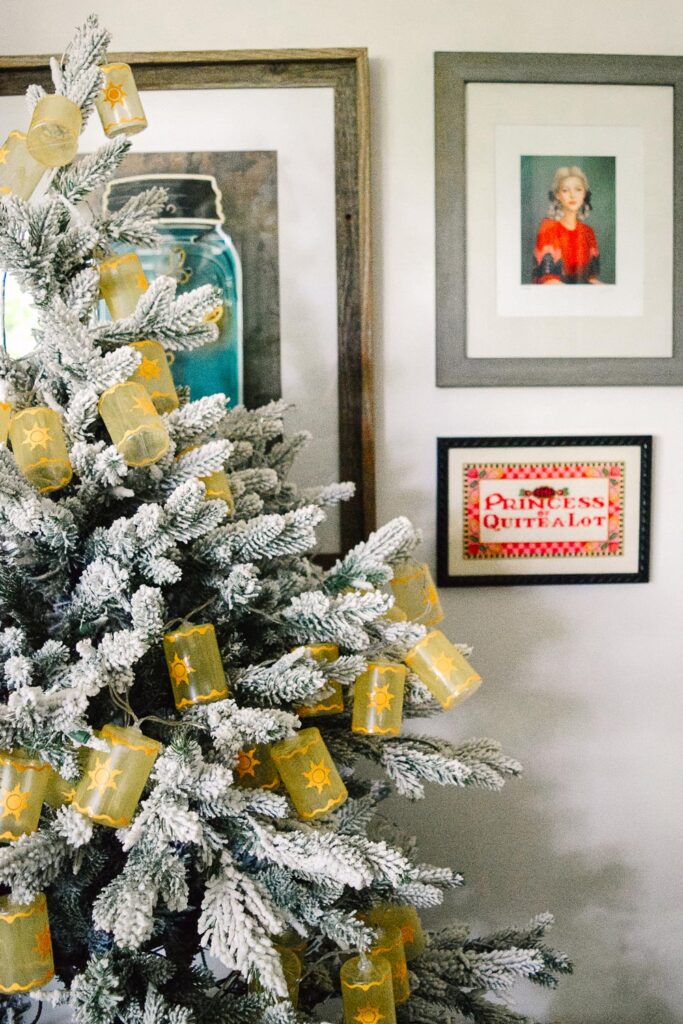
How To Make Tangled Lantern Christmas Decor
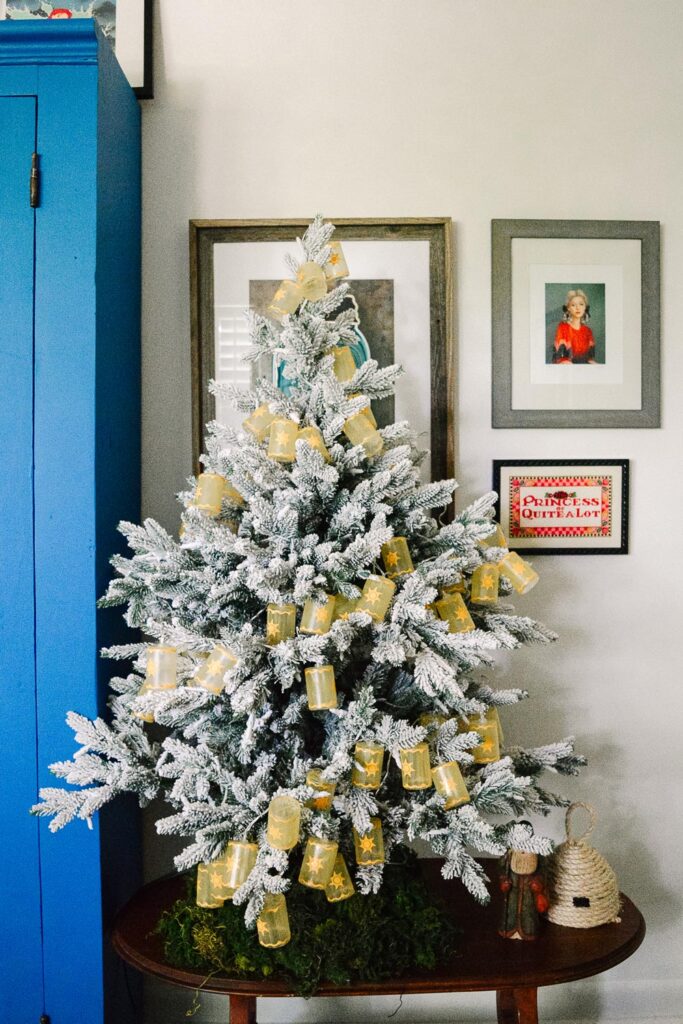
First, let’s take a moment to appreciate how happy and great this tree looks even unlit! Even without the lights on, you can get a sense of the story.
But, it’s pretty incredible when the lanterns actually do glow (and those photos are below).
Quick instructions for tangled lantern lights
Supplies:
- Lantern or cylindrical shaped light strands (mine were battery powered)
- Yellow acrylic paint & matte Modge Podge OR yellow glass paint
- Paintbrush
- Yellow sticker vinyl
- Cricut
A Quick Note On Supplies:
The only thing I had to buy for this tree was the strands of lantern lights. My mini tree is 48 inches tall and I used 6 strands of lights that each had 10 cylindrical lanterns on them.
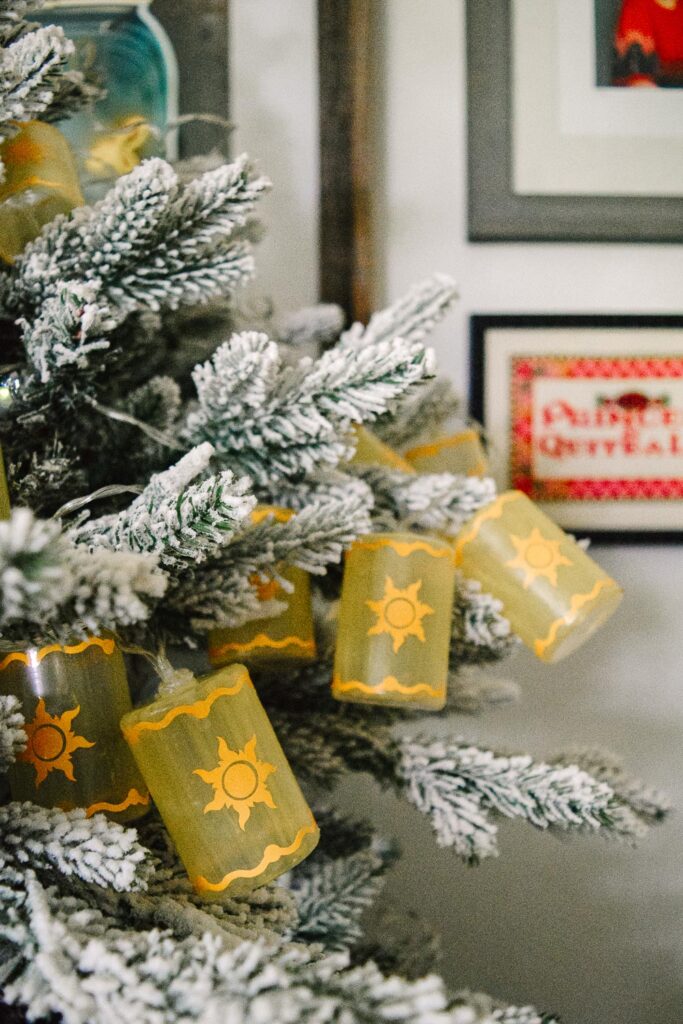
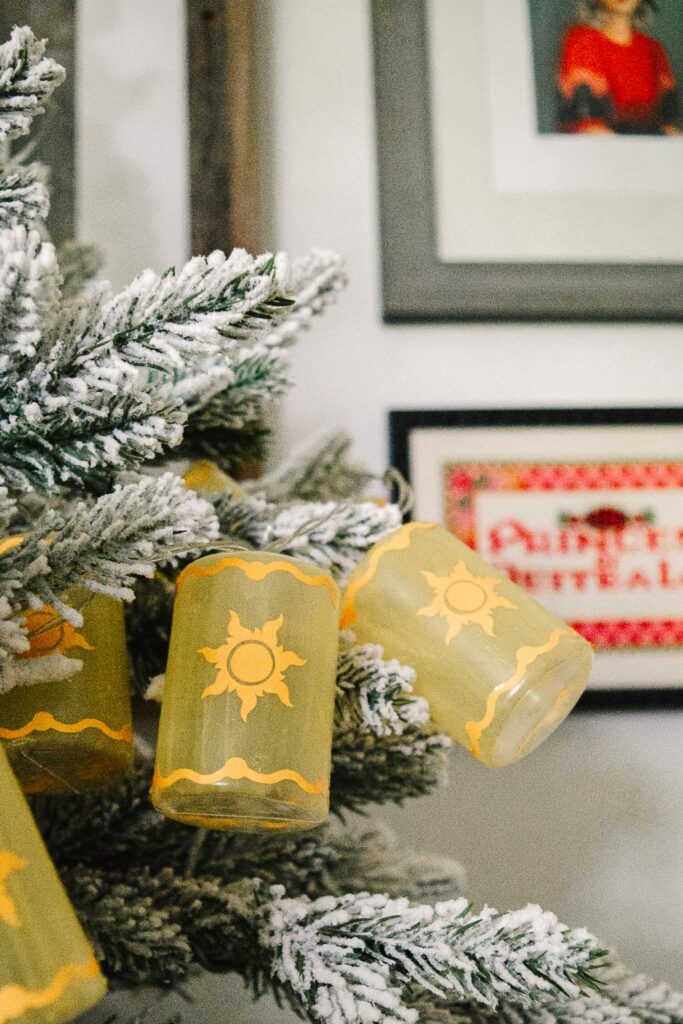
For the Tangled-inspired sun and border for the lanterns, I made that in Adobe Illustrator. If you’re not a designer, you can find SVG files for something very similar on Etsy for a couple bucks.
- Source Your Lanterns
I brainstormed about a million ways to make these lanterns: paper, electric votives, everything. I was really struggling to find a simple solution as all of my others were too expensive or too heavy or, frankly, just too much trouble. Then, while I was walking through a dollar store I saw the most hideous burlap lantern light strands the world has ever known.
Seriously, they were the ugliest lights. And, I was clearly not the only one who thought so because they were seriously discounted. I paid $2 per light strand!
I discreetly checked to make sure I could peel the burlap off, and saw that the base of these lantern strands was a plastic cylinder. Perfect! These became the base of my entire design.
2. Prep & Paint Your Lanterns
Take off whatever is covering up your lanterns, making sure to clean the surface as best as possible. Now it’s time to paint them.
I used a few drops of yellow acrylic paint in about 2 Tbs of matte Modge Podge and mixed it together. This gave me a subtle yellow tint that still let the light shine through. I chose this because I had it at home and I’m working really hard at using what I’ve got instead of buying more craft supplies! If you’ve got yellow glass paint that would also work well.
3. Cut Your Lantern Decor & Stick It On
If you wanted more color, you could absolutely cut your Tangled-inspired lantern stickers (the sun and the wavy borders) out of purple vinyl sticker paper. But, be warned, it’s definitely going to add a layer of energy (read: chaos) to the overall look.
I opted for a darker yellow sticker vinyl because the yellow on yellow design looked more muted and gave the tree more of a glow. It also helps the tree still look lantern-like even when the lights are off.
4. Trim The Tree
Now, all that’s left is to string your Tangled lantern lights on the Christmas tree. I put them on in layers wrapping around and around the tree.
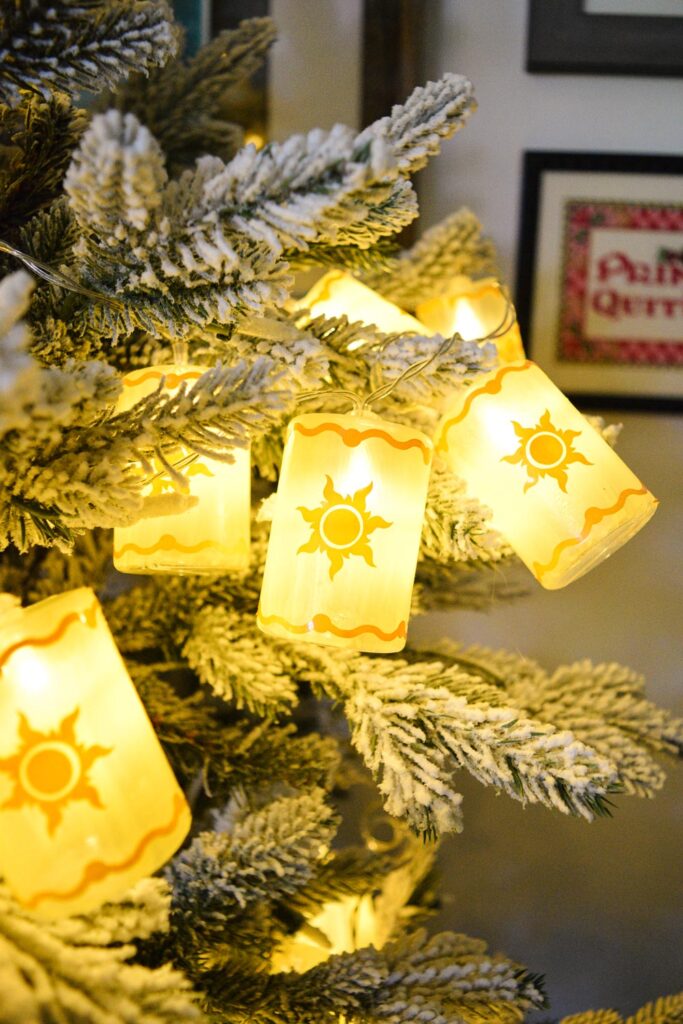
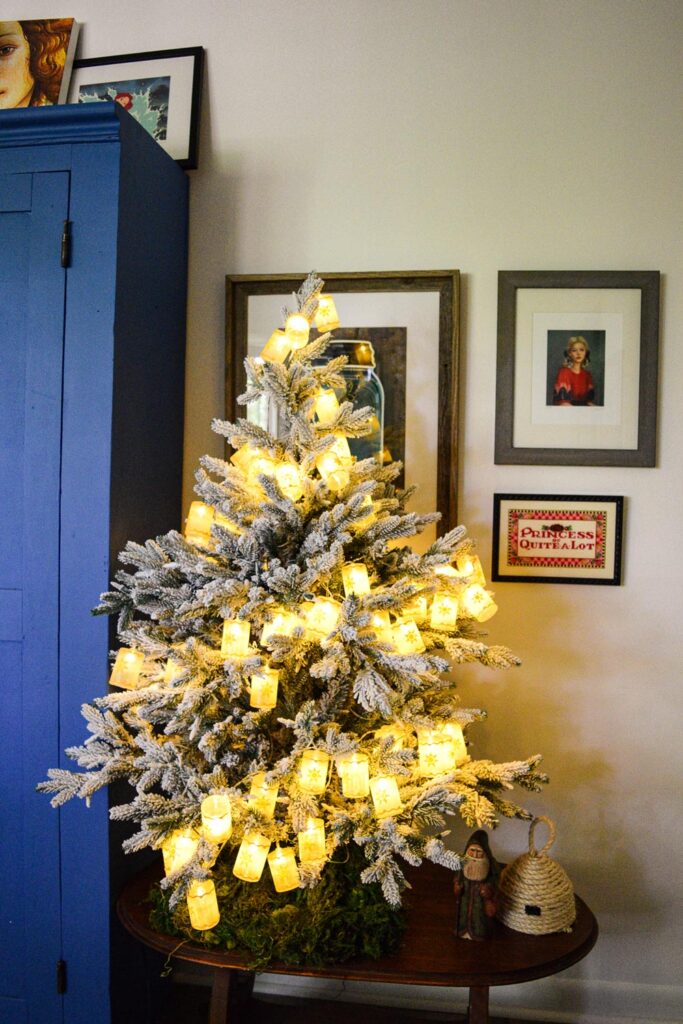
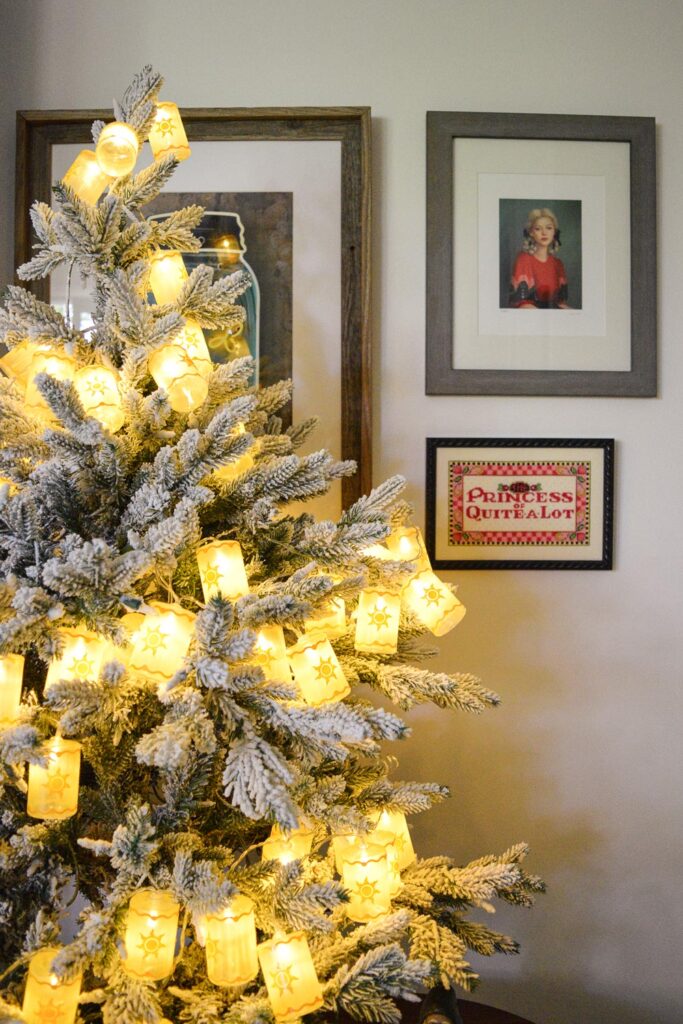
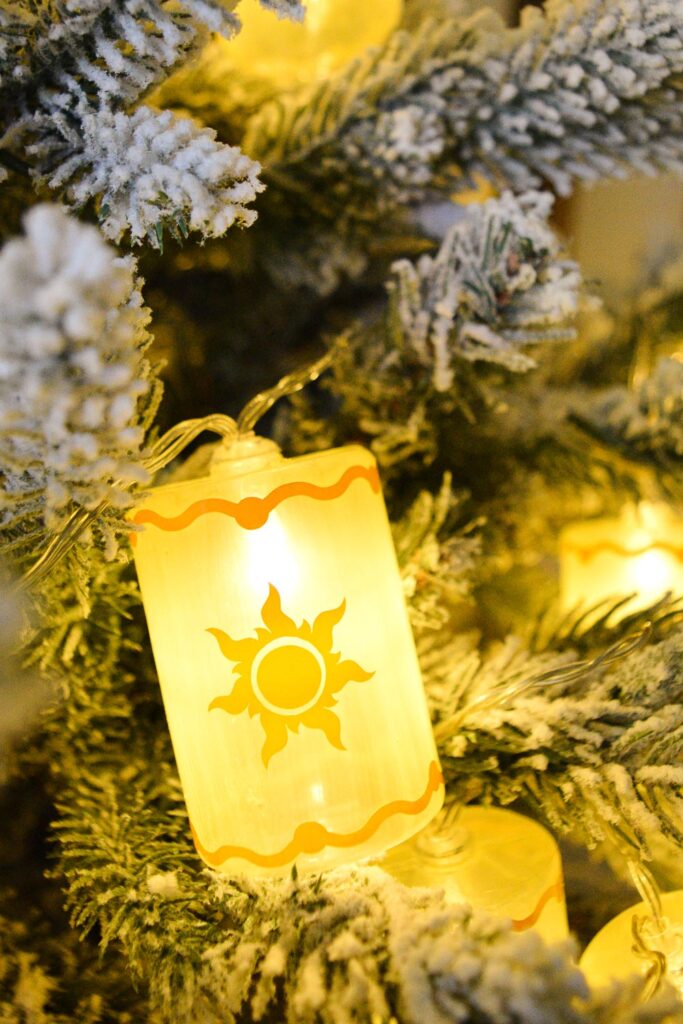
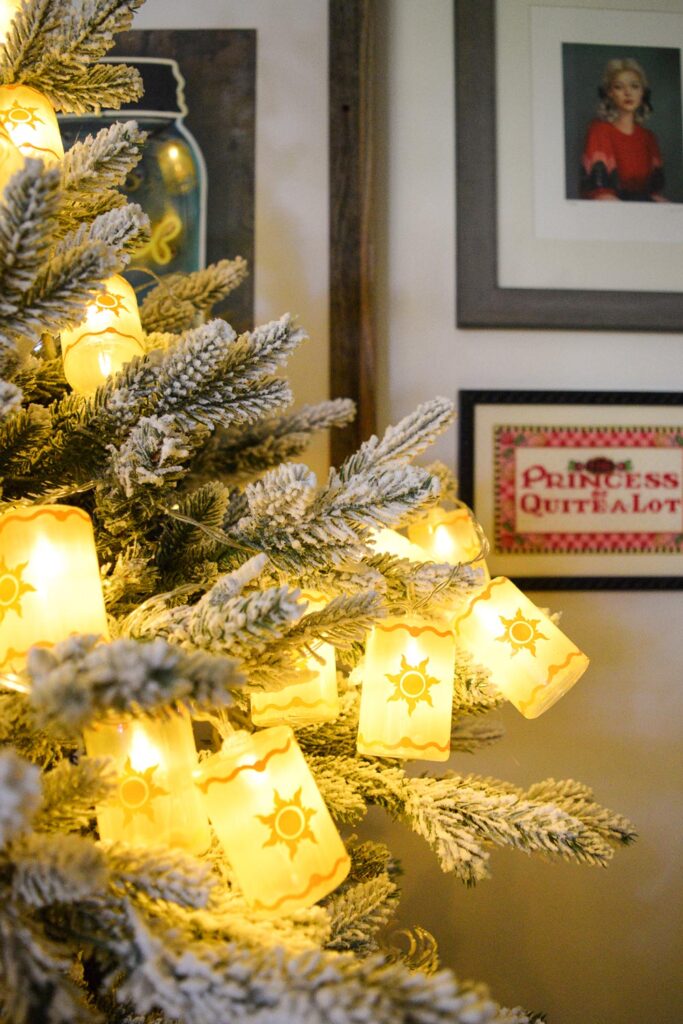
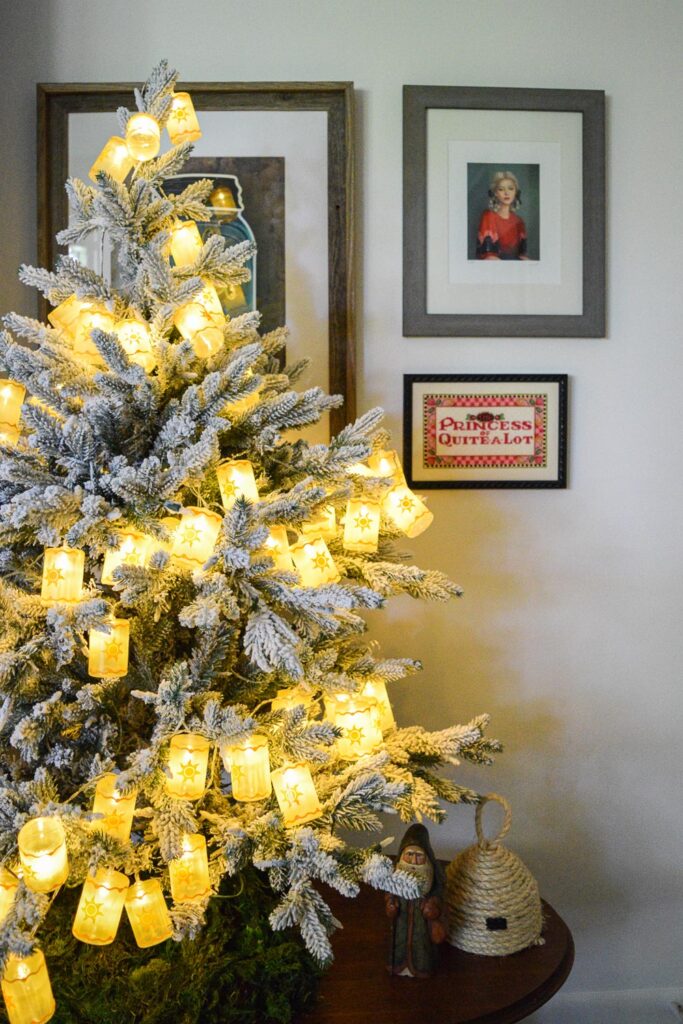
This Tangled Lantern Christmas Tree brought me joy, and I hope it brings you some as well. Part of that is because the magic of the color yellow, but most of it is due to the truly beautiful scene with the floating lanterns in Disney’s Tangled. This is the time of year for light in the darkness, so while it’s not a traditional Christmas tree, I think this could have a very meaningful place in your holiday decorating.
Leave a Reply Cancel reply
Make merrie with this little freebie
Download this bow SVG cut file - on me! Perfect for ornaments, garlands, or gift tags.
| Website Design by EP Design
© Merrie Company 2024
